One thing we round-light 2002 owners don't need is for the signal lights to be any less noticeable than usual. Actually, they were fairly OK when they were new, it is just that now the reflectors are usually corroded and dark and the electrical connections are less than perfect. Throw in some road grime and cheap bulbs, and you have a rear-end impact waiting to happen.
What to do? Here is my cheap and fairly quick method of making your taillights and front turn signal lights bright as new again.
Step One:
Clean everything.
It is amazing how dirty
the bulbs, lenses, and reflectors can get over time. The backsides of the
lenses also need attention. Use some good plastic cleaner/polish (like Meguire's
Professional #17) to make the lenses look shiny and new - you will love it.
If you have good reflectors, be careful when cleaning them - the silver coating
is easily rubbed away!
Step
Two: Use correct, nickel plated bulbs.
Only use quality bulbs with
nickel plated bases. Brass-base bulbs corrode quickly and result in bad connections.
The correct bulbs are 1156 (21W) for Turn, Stop and Reverse, and a 5W job
for the running light. Using a 21W bulb for the running light will eventually
melt your lens. I smeared some silicone grease on the new bulb bases to help
prevent corrosion. The bulbs in the picture were both in service for two years.
Which one looks better to you?

Step Three:
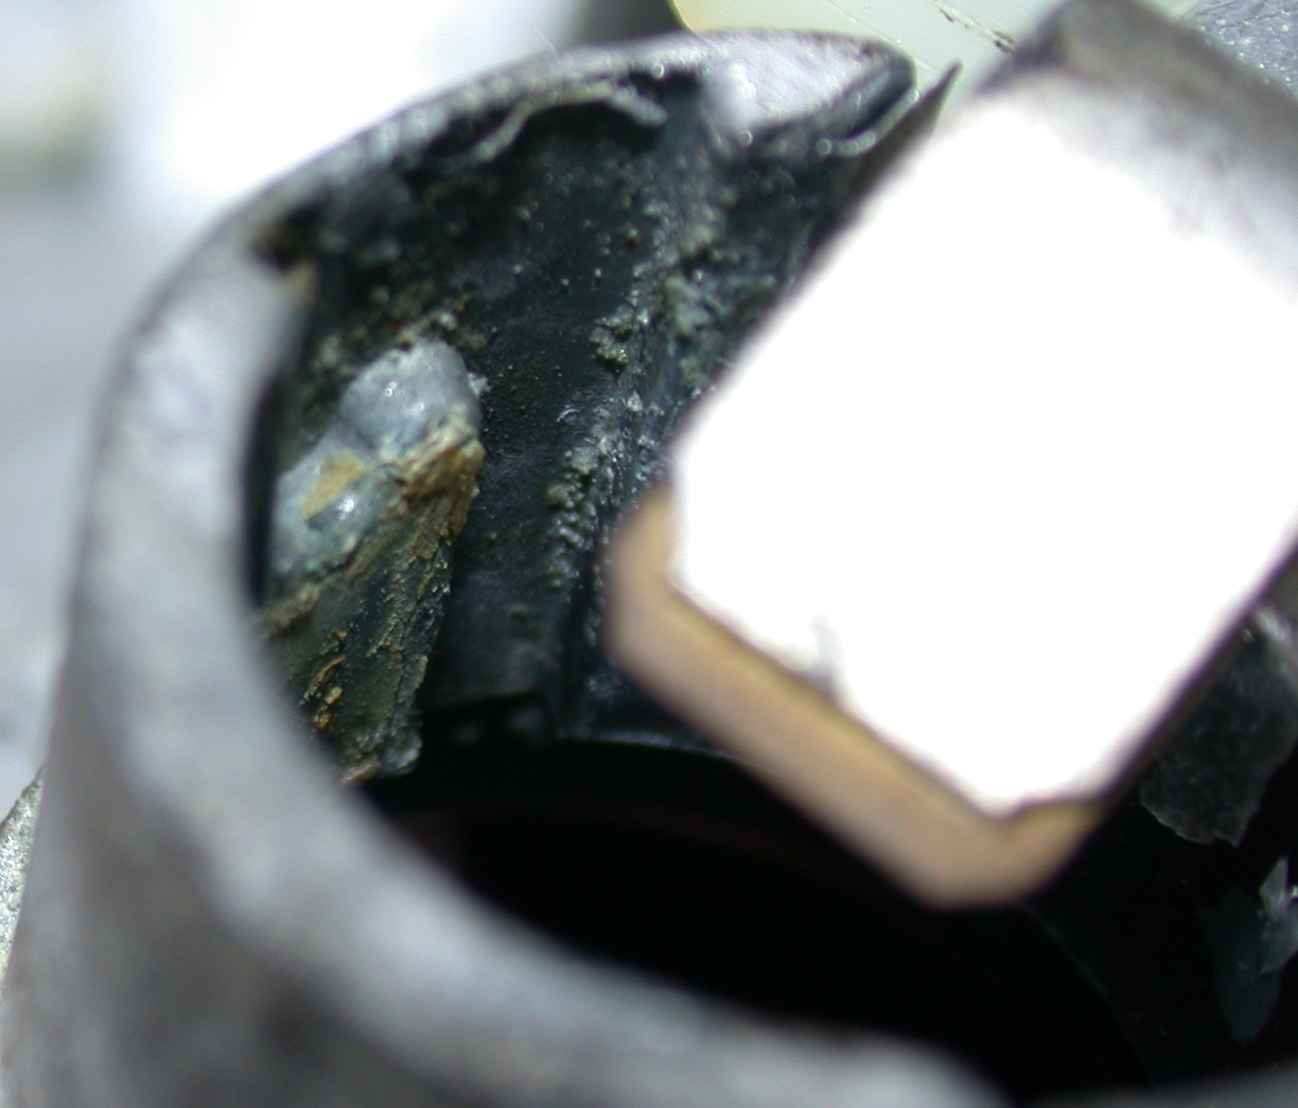
Clean up and tighten electrical connections.
Note especially the area
in the sockets where the bulb pins rest - this is where the electrical connection
is actually made! Try not to remove the silver coating when cleaning. I use
a combination of metal polish and a cotton dremel buff point to clean the
brass spring contacts. These contacts can be bent down to improve the security
of the connection, but use care here. Often overlooked, there is a spade-lug
ground connection to the body of the reflector; sometimes it is loose. You
can carefully re-stake it if necessary. If it breaks off, just replace the
female spade connector on the brown wire with a ring and clamp it under a
reflector securing thumbscrew. Also, check the trunk floor grounding point
connection. You will know if a ground connection is poor since the running
light will get brighter and dimmer as the turn signal light flashes.
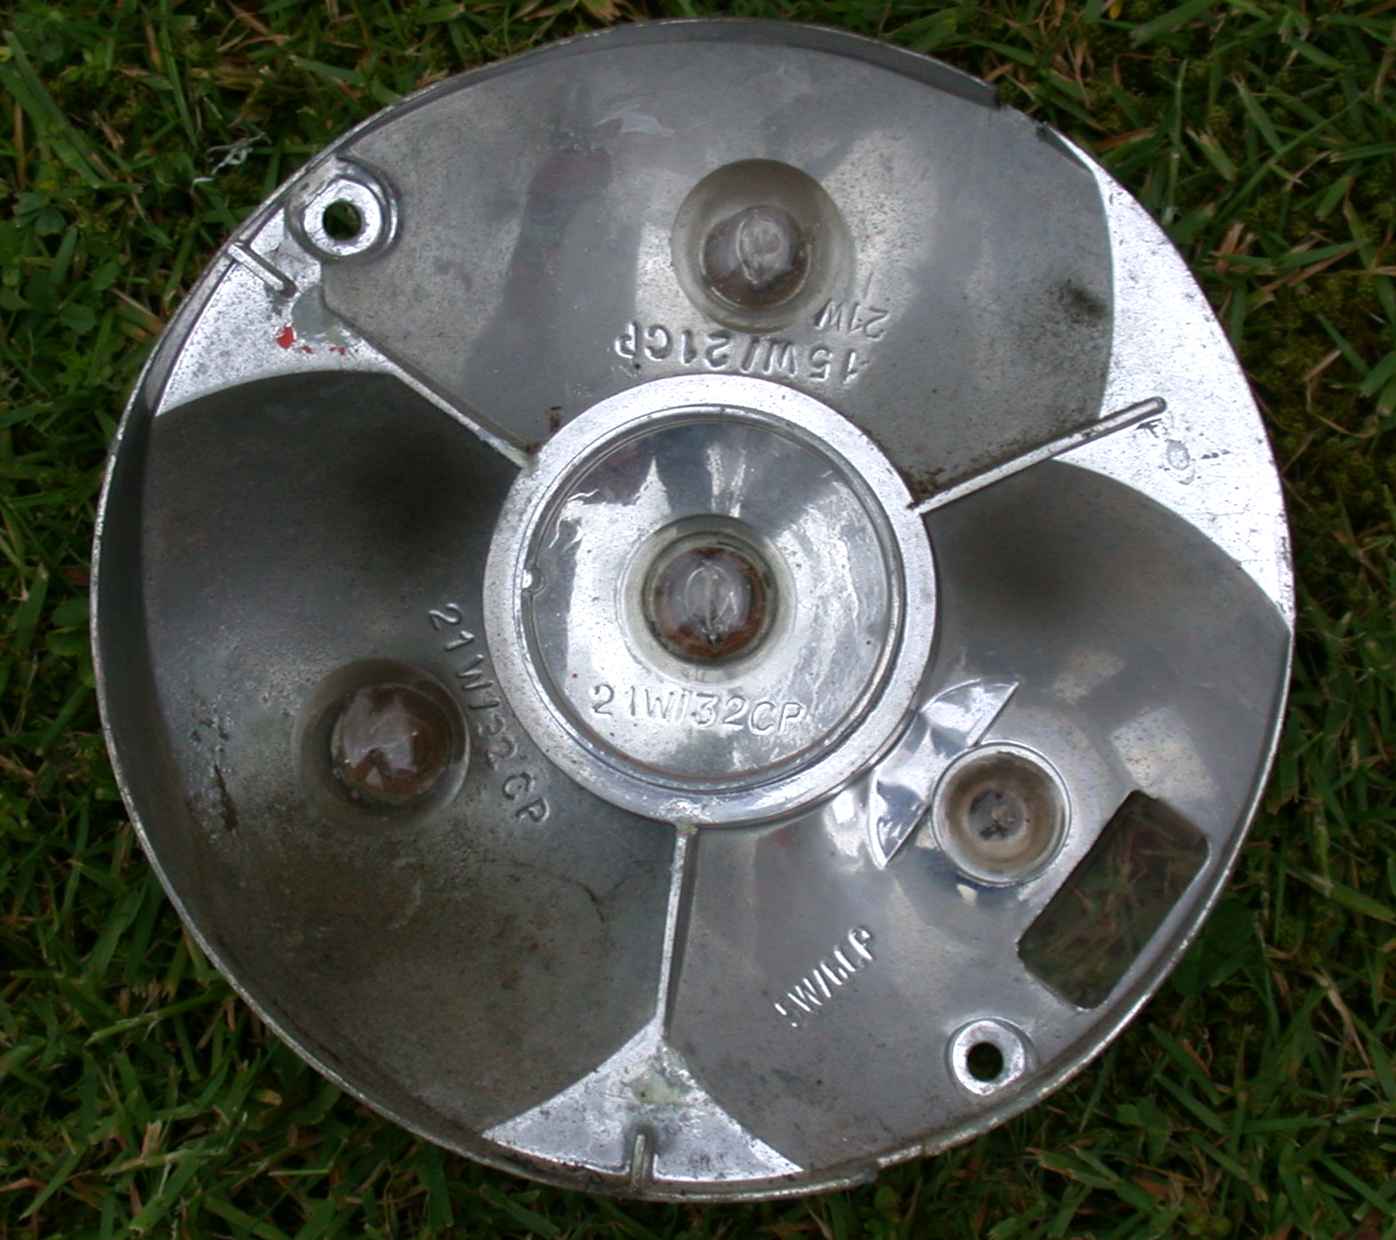
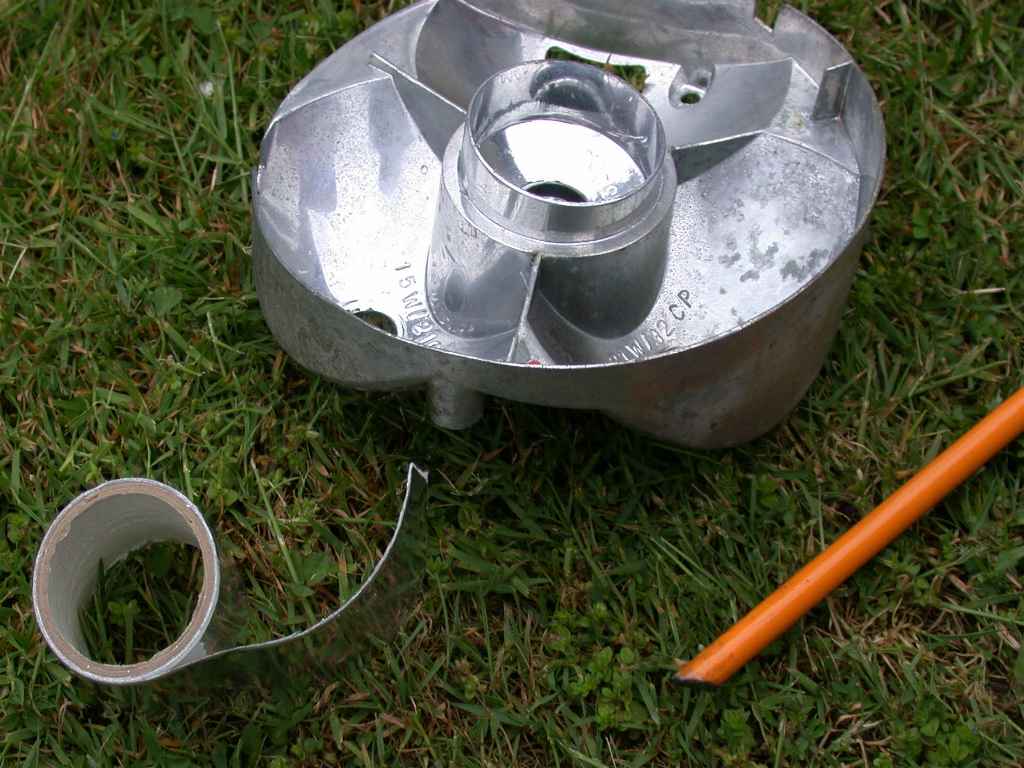
Step Four
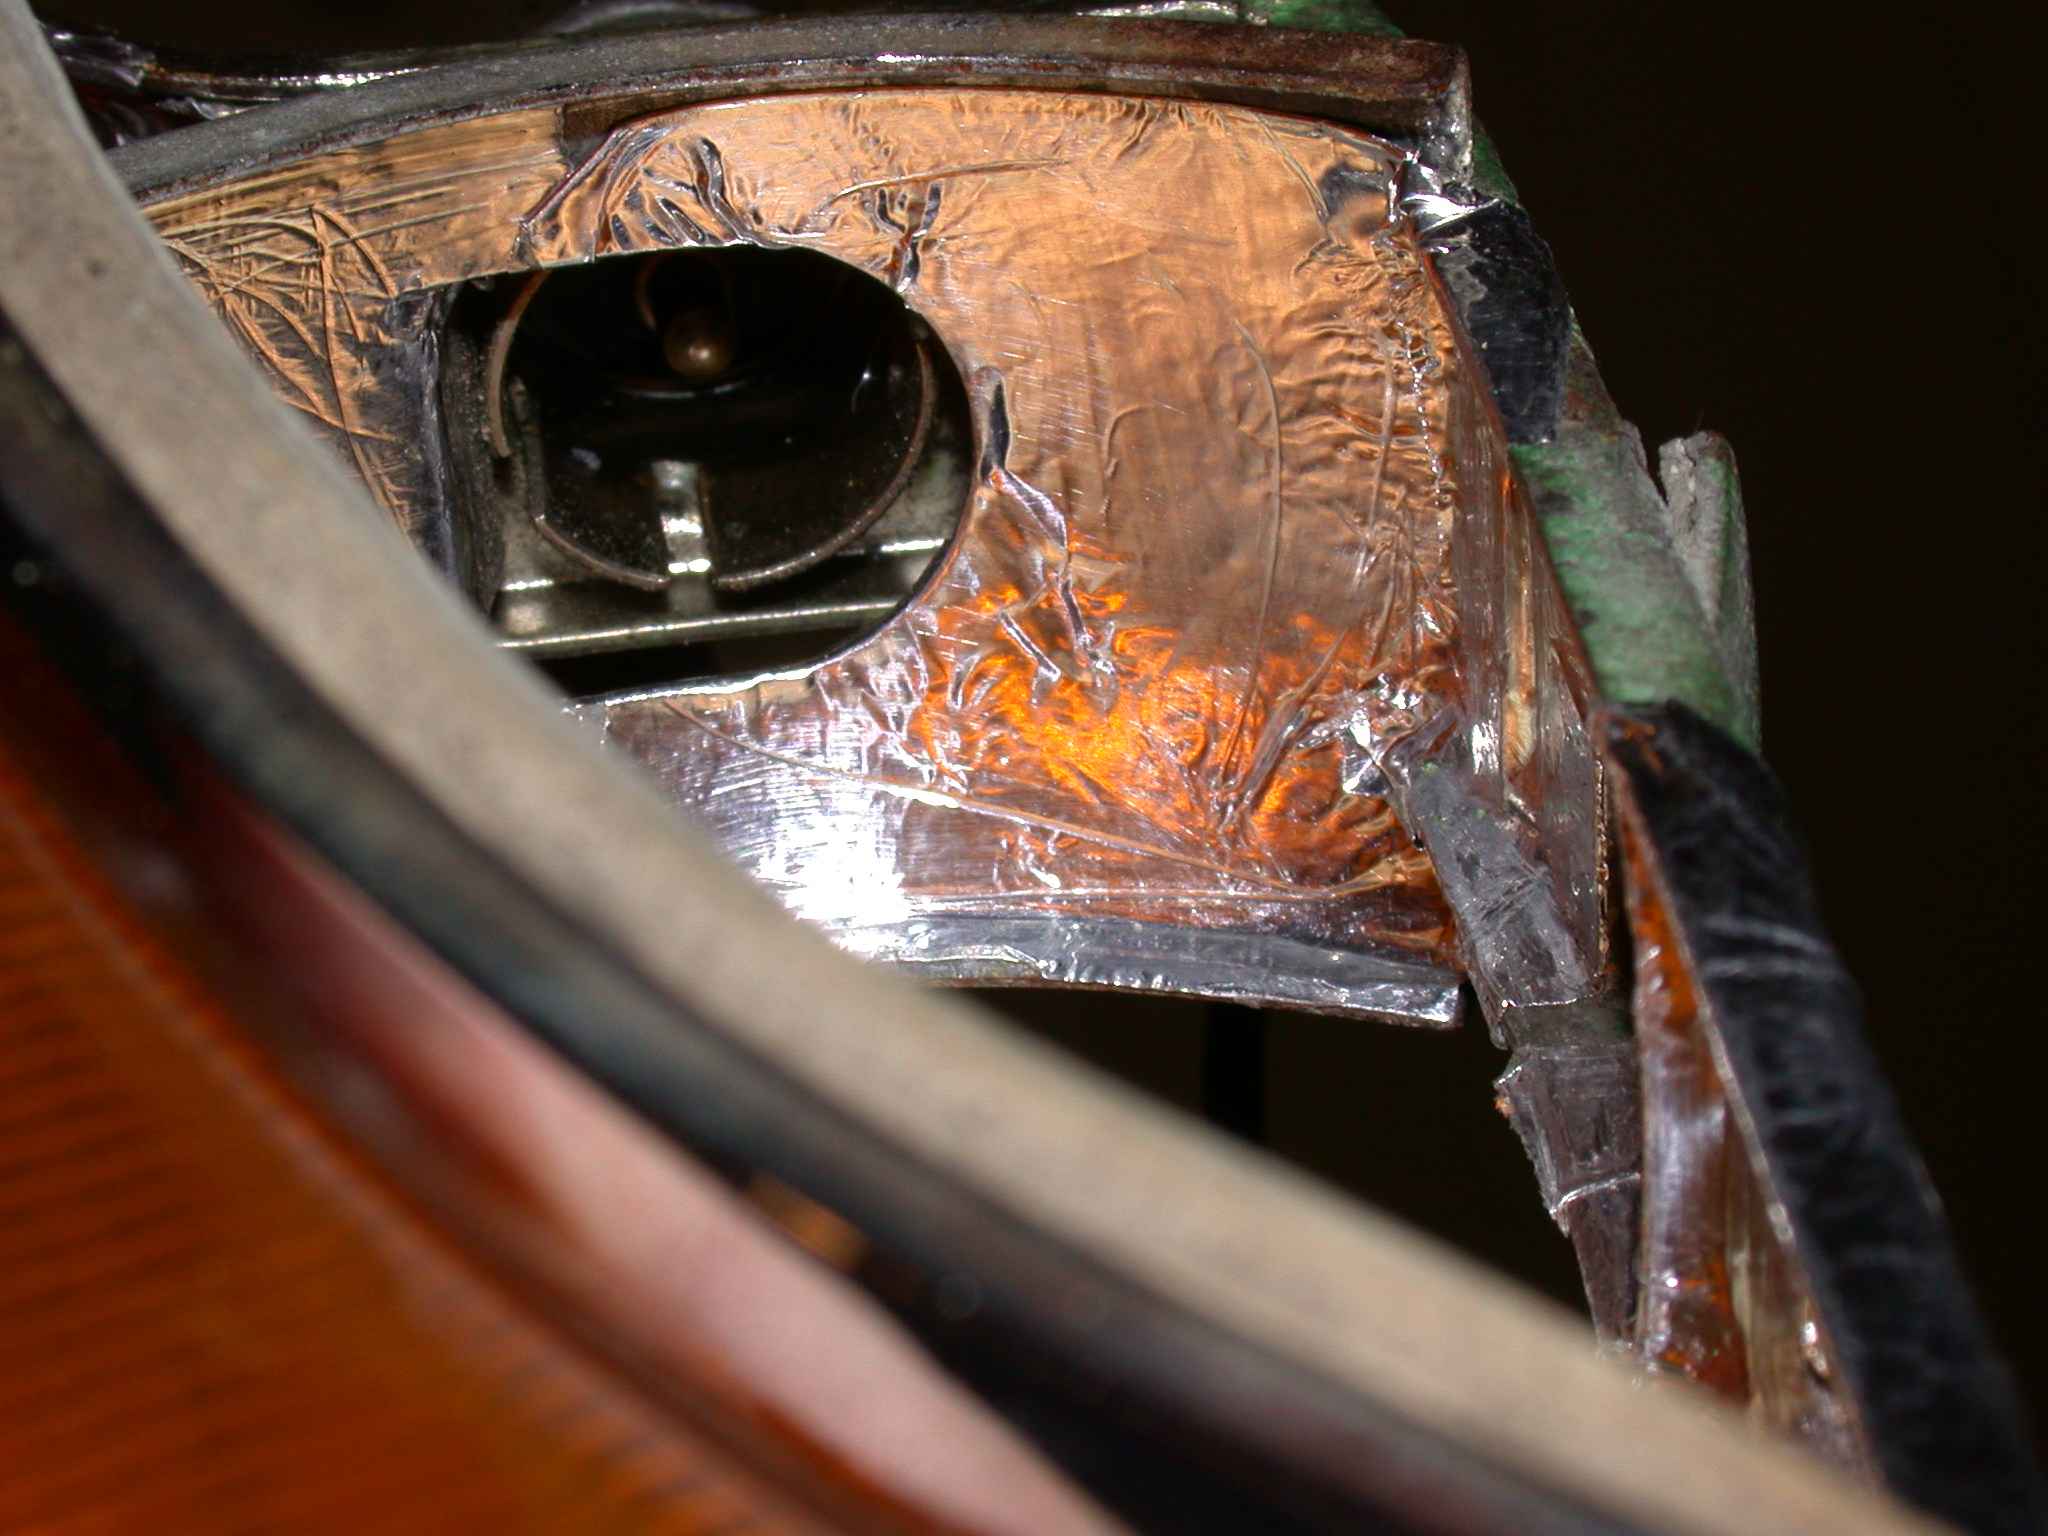
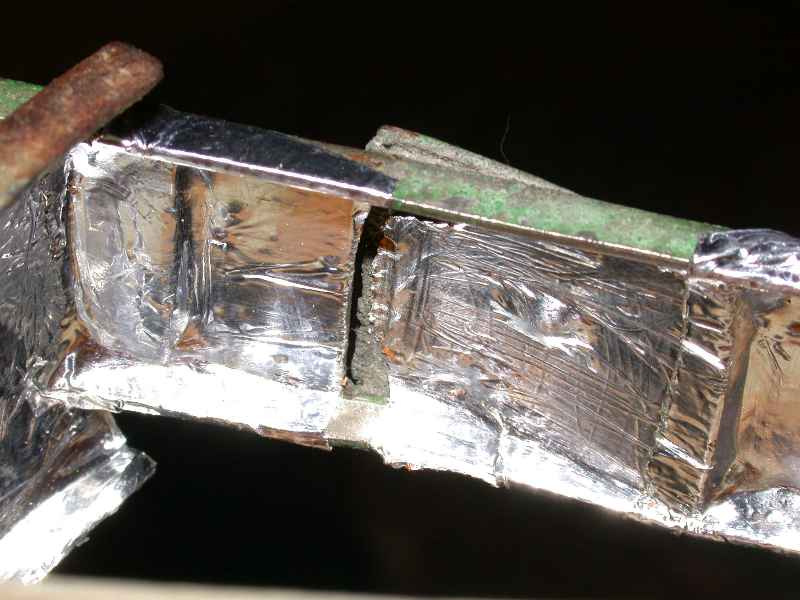
- The Big One: Resilver the reflectors.
This usually results in
a most dramatic improvement. Some folks use chrome paint, but I have found
the brightest result was using some shiny aluminum foil tape (sold for body
repairs and other uses). The tape can be cut and molded into shape using a
wooden dowel with a blunt tip - I used a pencil. After applying, you can even
use some metal polish to put a final finish on the aluminum surface. There
is no need to get the surface perfectly wrinkle free, the light will still
be bounced around and out of the lens. The before/after pictures below do
not really show the full dramatic effect of the reflector restoration.
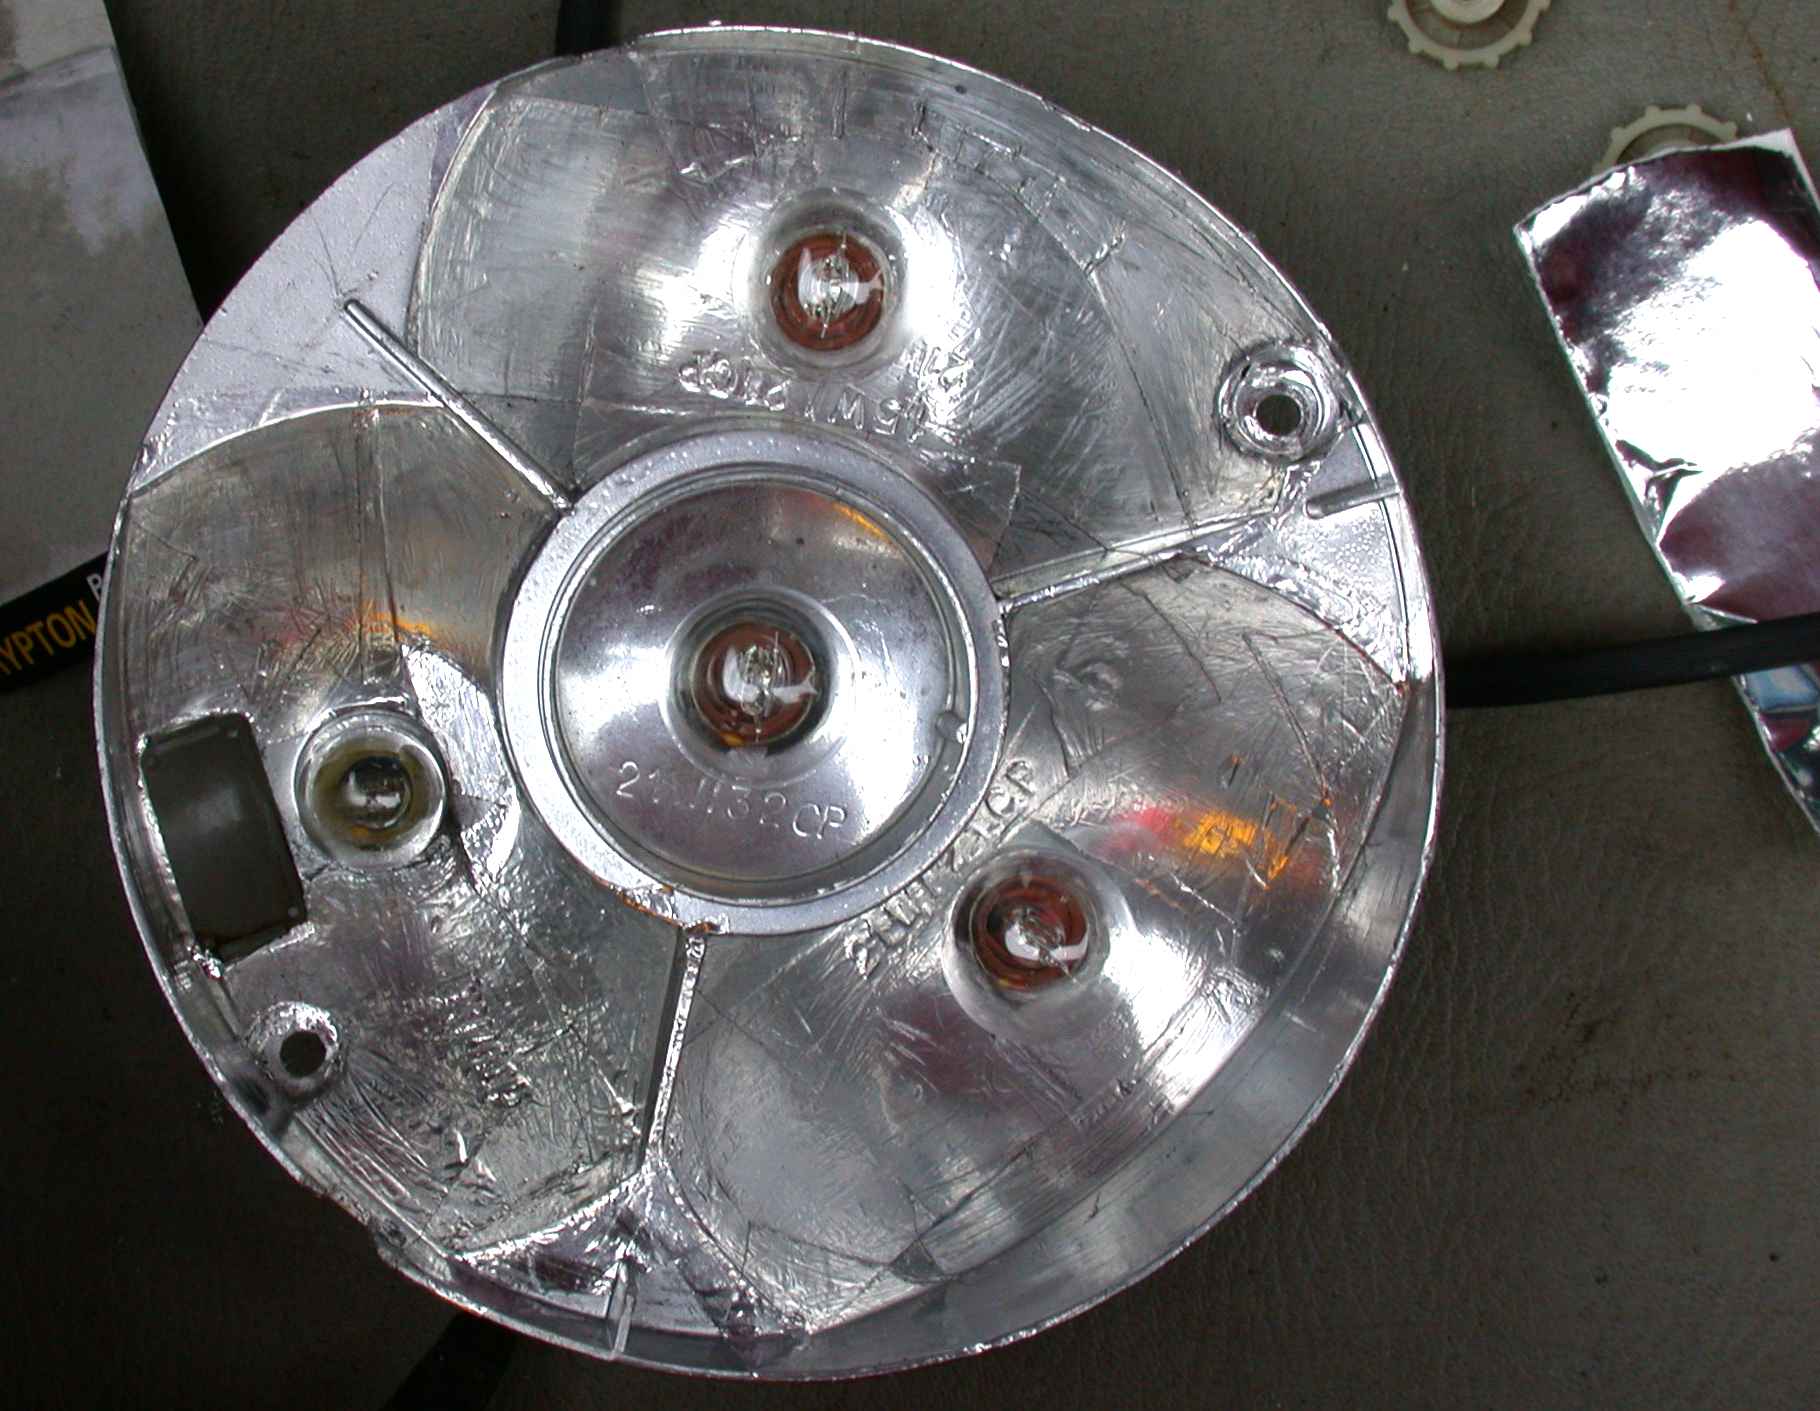
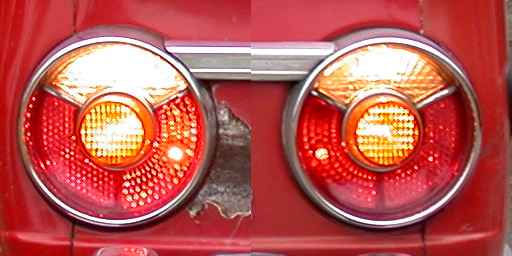
As you can see above, the resilvered light glows much brighter. The most dramatic and welcome improvement was in the brake light. In addition, they look much nicer when not lit as well. Overall, the running light now looks like the brake light used to and the brake light is easily visible in daylight again! Given the safety improvement, it could be the best hour or so you ever spend on your car.
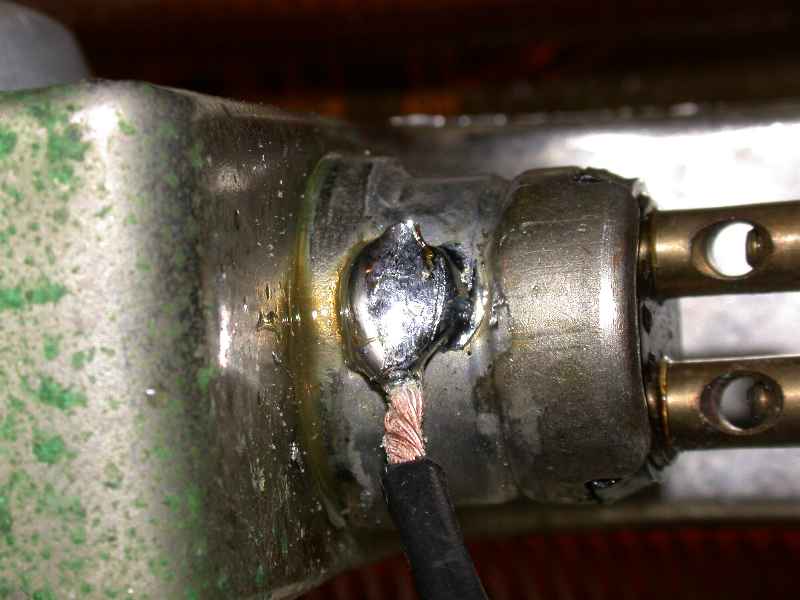
I used the same basic foil tape approach on the fronts. (Notice how the reflector is designed to shoot most of the light forward, but has a little "kicker" mirror to provide illumination at 90 degrees - kinda clever.) I also soldered on a dedicated ground wire, since the original design of grounding through the mounting screws is not so good when you have rusty fenders! You know you have a bad ground when one of the filaments goes dim as the other is turned on. It is tricky fishing the ground wire through the grommet tube with the others - I used dish soap to help it along. I then used a crimp-on ring connector to attach the ground wires to the screws that hold the headlight buckets.